⏰ Skip the wait! Shop stock patches, color charts, heat presses & more in just minutes. SHOP NOW!
⏰ Skip the wait! Shop stock patches, color charts, heat presses & more in just minutes. SHOP NOW!

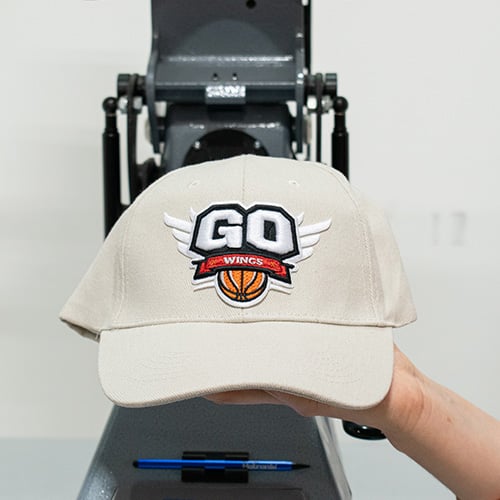
3D Embroidered Patches on hats are some of the most sought-after trends today. With low melt backing adhesive, they can be easily applied in just 5 steps to decorate and personalize your hats. Check out the process to apply these patches using the IQ 360 Hat Heat Press.
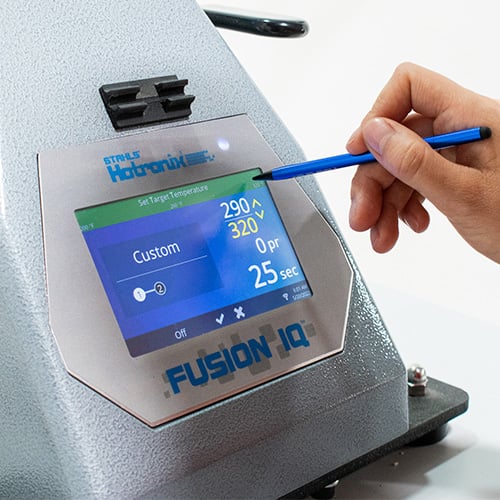
Set the press at 290°- 300° F for top heat and 315°- 320°F for bottom heat with 60-80 psi of pressure.
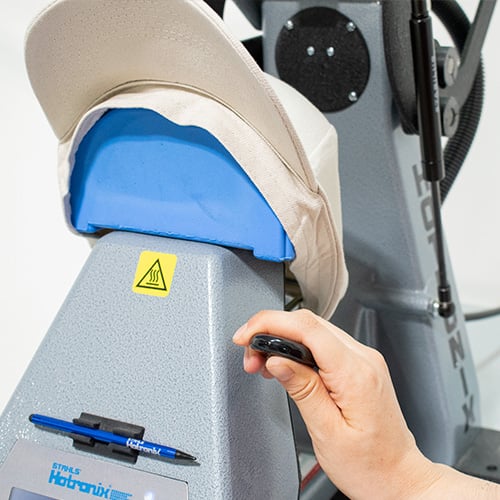
Place the hat into the IQ 360 Hat Heat Press. Make sure to pull out the sweat band and position the hat correctly. Pull down the lever to ensure the hat is secure.
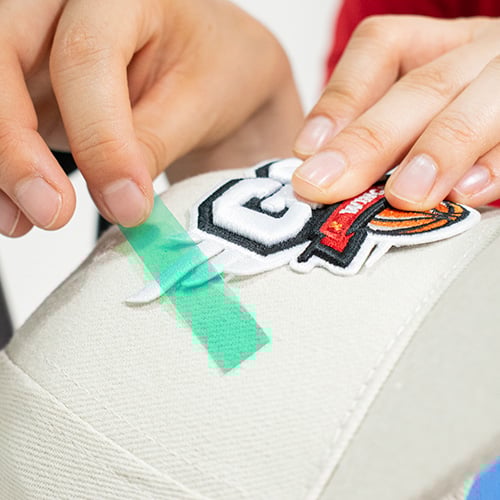
Place your 3D Embroidered Patch on the desired location. To secure the patch and prevent it from moving, the use of Thermal Tape is recommended.
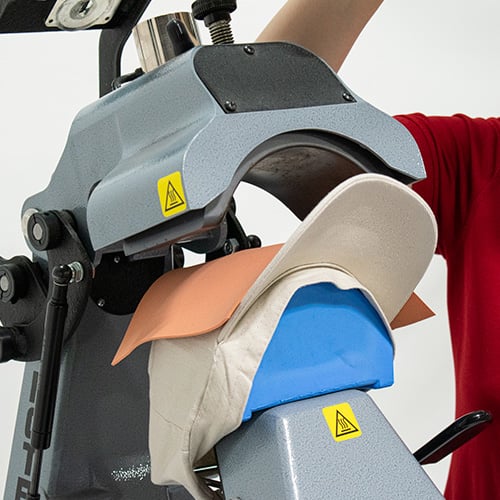
Place a FlexStyle® silicone pad over the design to protect your patch, and press for 25-30 seconds.
Remove the hat from the Heat Press and let it cool before removing the Thermal Tape. And just like that, in 5 easy steps, you have a custom hat with a dimensional 3D Embroidered Patch.
To learn more follow us on social media or visit www.worldemblem.com
Disclaimer: World Emblem recommends testing the best combination of heat seal parameters for your garments before application.